The Dimagi Blog
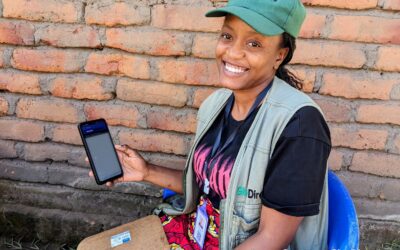
How a leading humanitarian organization migrated seven countries from using TaroWorks to CommCare, cutting project launch times from weeks to days About GiveDirectly’s Mission GiveDirectly is one of the world’s leading cash transfer organizations, pioneering...
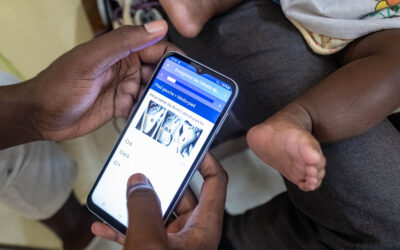
Image courtesy of MiracleFeet and OpenFn Every year, nearly 200,000 children are born with clubfoot. While highly treatable, the condition requires precise, multi-year follow-up care. For MiracleFeet, a global leader in clubfoot treatment, managing this at scale meant...
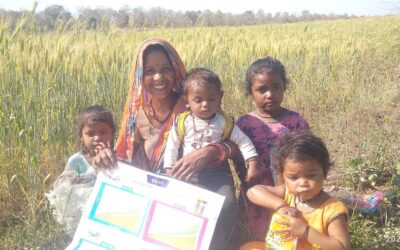
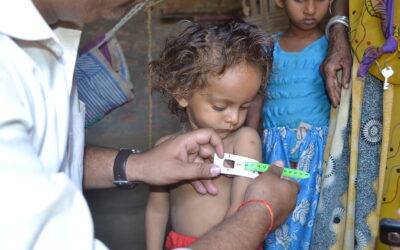
A Shift to Precision using Predictive Analytics in Public Health If you’ve ever stepped inside an Anganwadi Centre during a busy morning, you would have probably observed a long queue of mothers and their small children, anxious with questions about weight and growth,...
In a year marked by unprecedented budget constraints across development and humanitarian sectors, organizations supported by USAID and other large institutional donors are focused on a critical mission: maximizing the return on investment (ROI) from every digital...
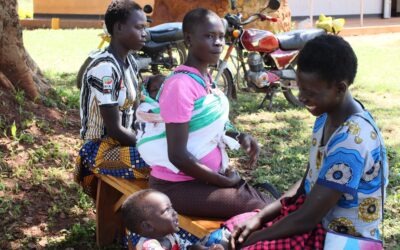
Every year, millions of newborns die within the first weeks of life; many from preventable causes after leaving the hospital. The Connect Kangaroo Mother Care (KMC) program bridges this post-discharge gap by combining community action with digital innovation. Through...
The Global Digital Health Forum (GDHF) is always a highlight on the Dimagi calendar, and we're thrilled to be returning this year to connect with partners, share insights from our work, and explore the innovations shaping the future of digital health. This year's...
Leaner Teams, Tighter Budgets: Product Updates to Help You Do More with Less On October 7th, we gathered with partners from around the world for our “What’s New in CommCare: Fall 2025” webinar. The conversation was grounded in a reality we all share: this is a...
Imagine you're a frontline worker preparing for a visit. With multiple clients to serve, staying organized is critical. Before heading out, you open your phone and instantly see notes from your last visit: a sick child who needed follow-up, a farmer whose fertilizer...
Ireland joins India and US hosting. Same CommCare, now with more data residency choices. Your data, your choice. Starting today, every new CommCare project can be hosted in one of three secure regions: European Union (Ireland), India (Mumbai), or US (Virginia), at...
I'm pleased to share that CommCare has been recognized in UNICEF’s Digital Tool Selection Guidebook for Health Campaigns, a newly released resource on health campaign digitalization. Having contributed to this guidebook's development alongside UNICEF and Clinton...

Introduction The City of Somerville, Massachusetts has long demonstrated a strong commitment to advancing community health through the work of its local public health teams. Their Public Health Nurses (PHNs) and Community Health Workers (CHWs) support residents across...
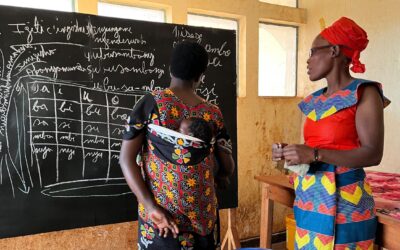
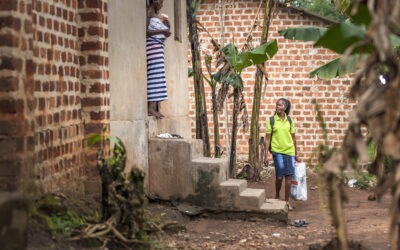
This case study, originally featured in Philanthropy Impact Magazine (page 16), is complemented by the above image, courtesy of Taking Pictures, Changing Lives Foundation. "Now that I can read, I was elected as a women’s representative in our community. I also...